From Own Merchant Account to Assisted Merchant Account
Do the following steps to switch to the assisted merchant account in the configured PG:
- Navigate to the Sales Channel > Setting > Cart & Payments > Payments.
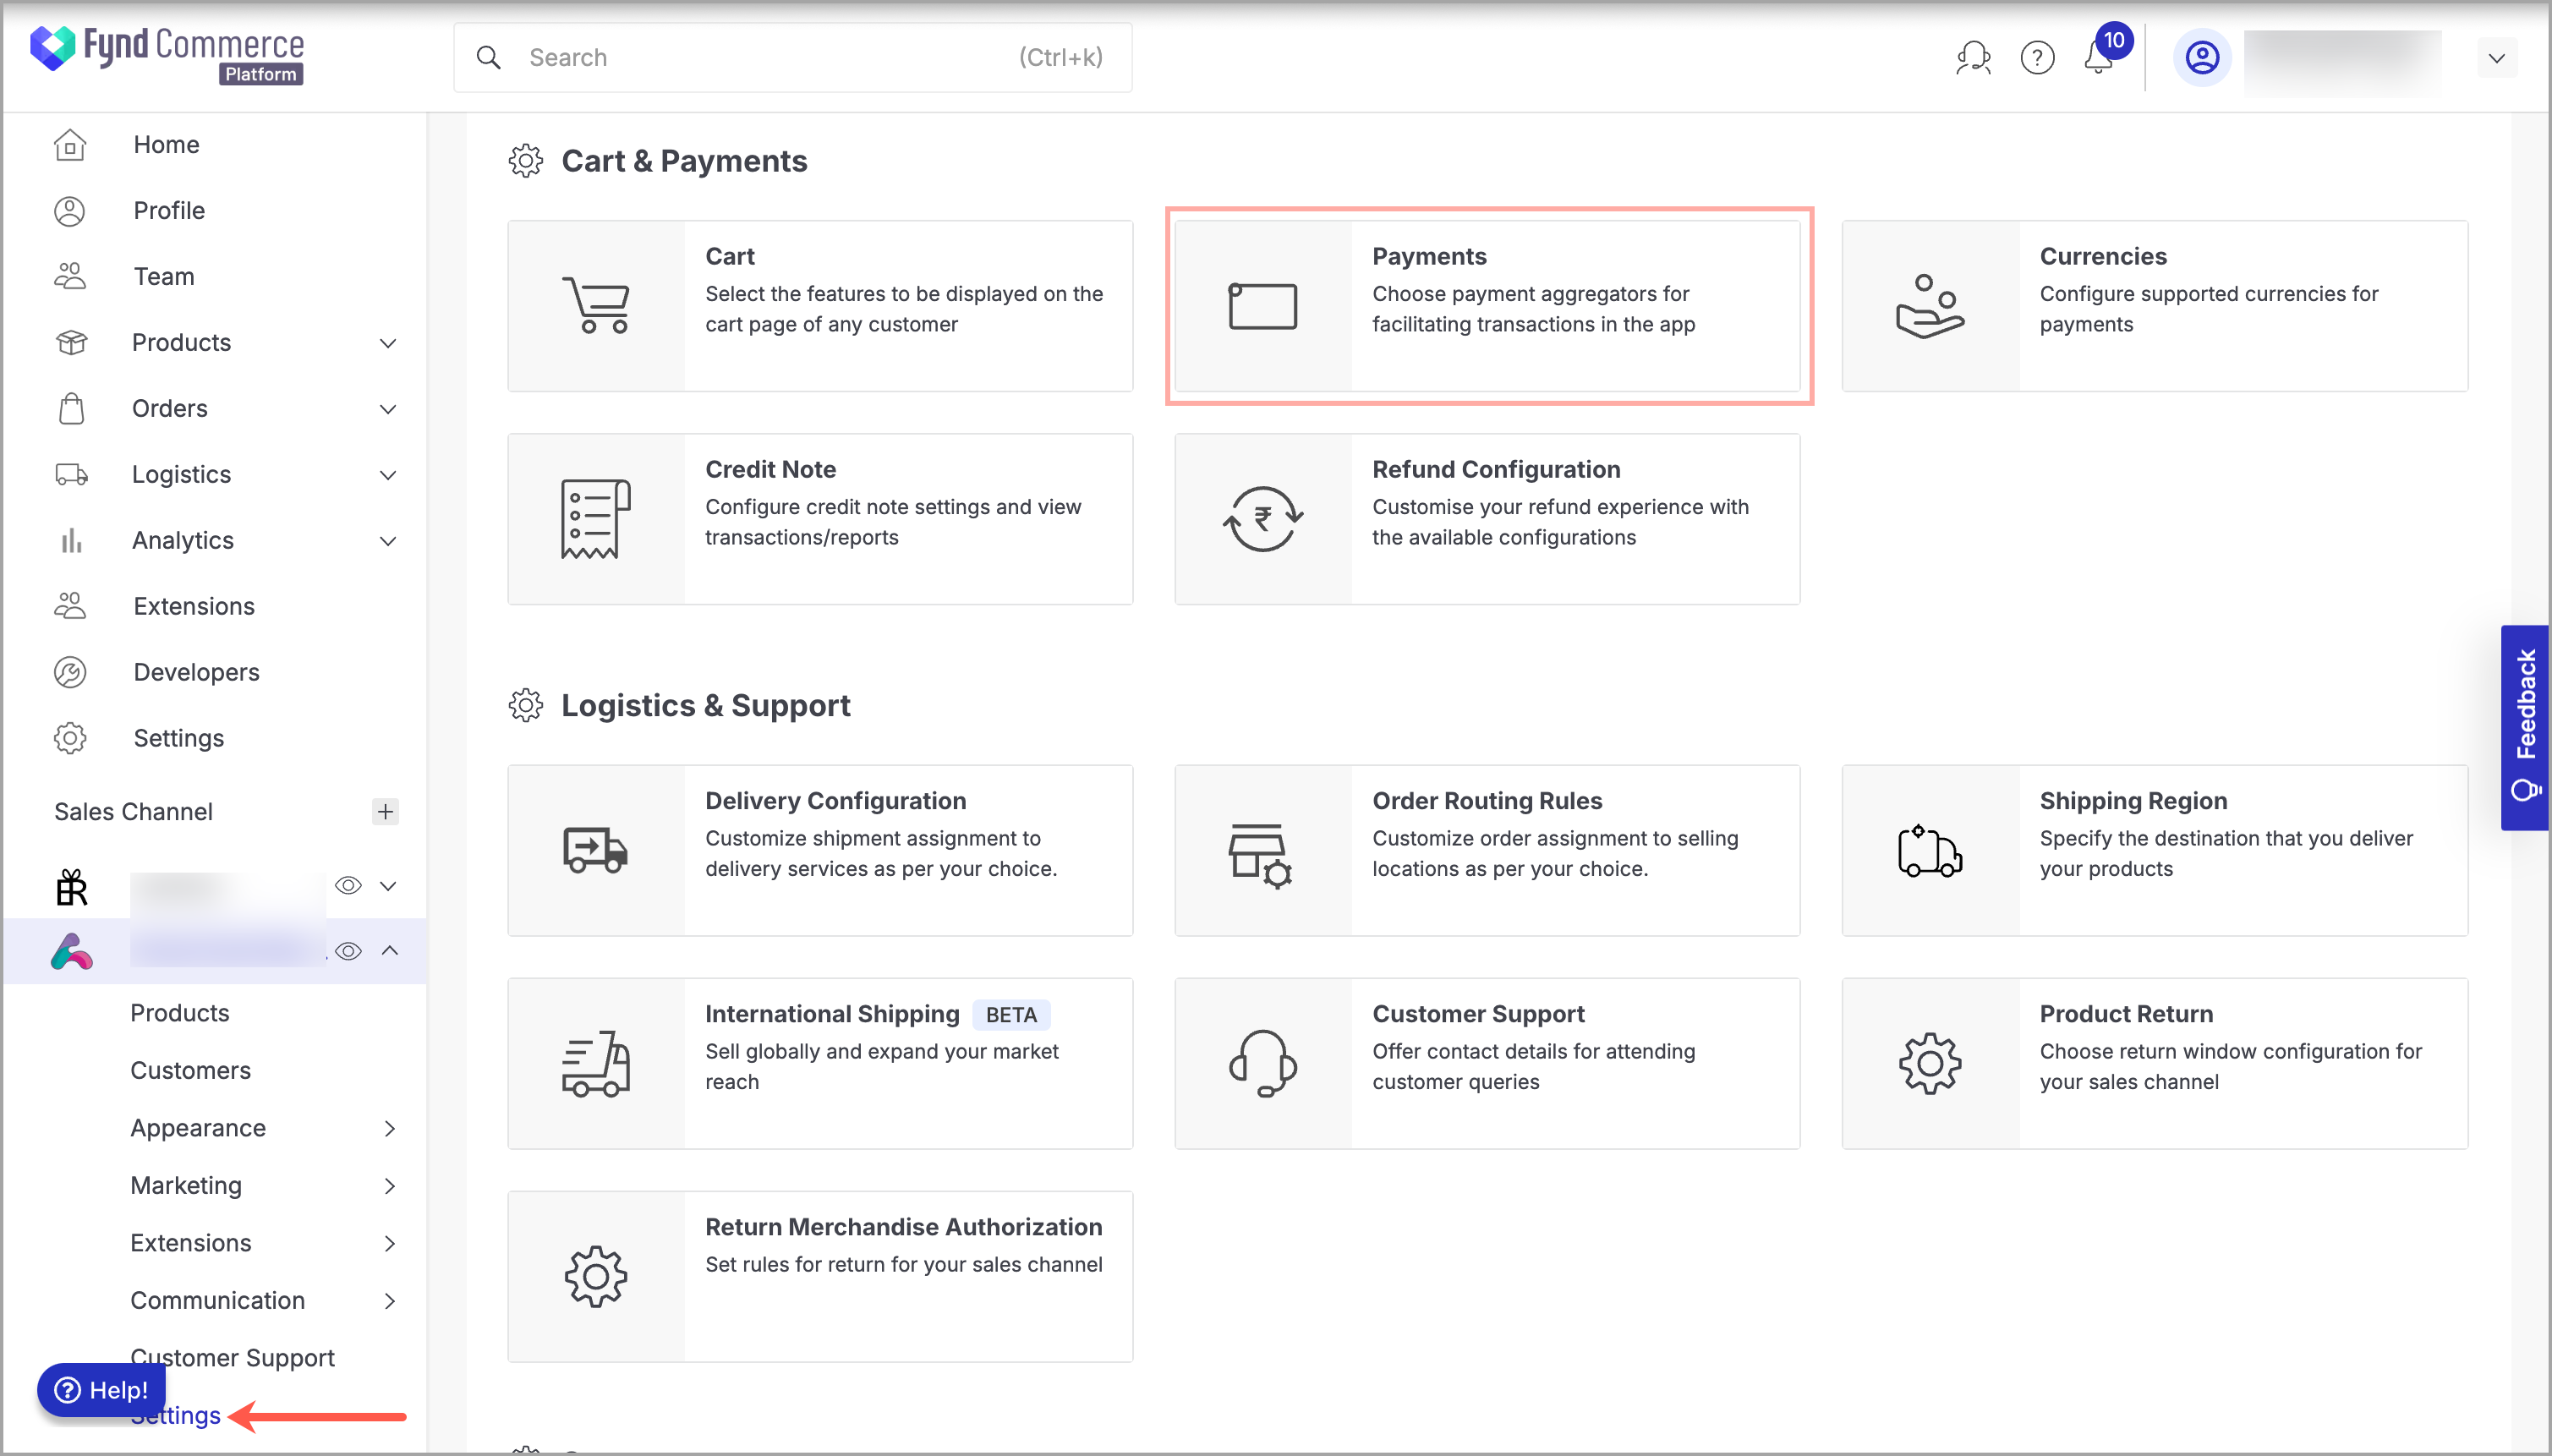
Figure 1: Sales Channel Setting - Click General Setting.

Figure 2: Payments Page - Click Razorpay.
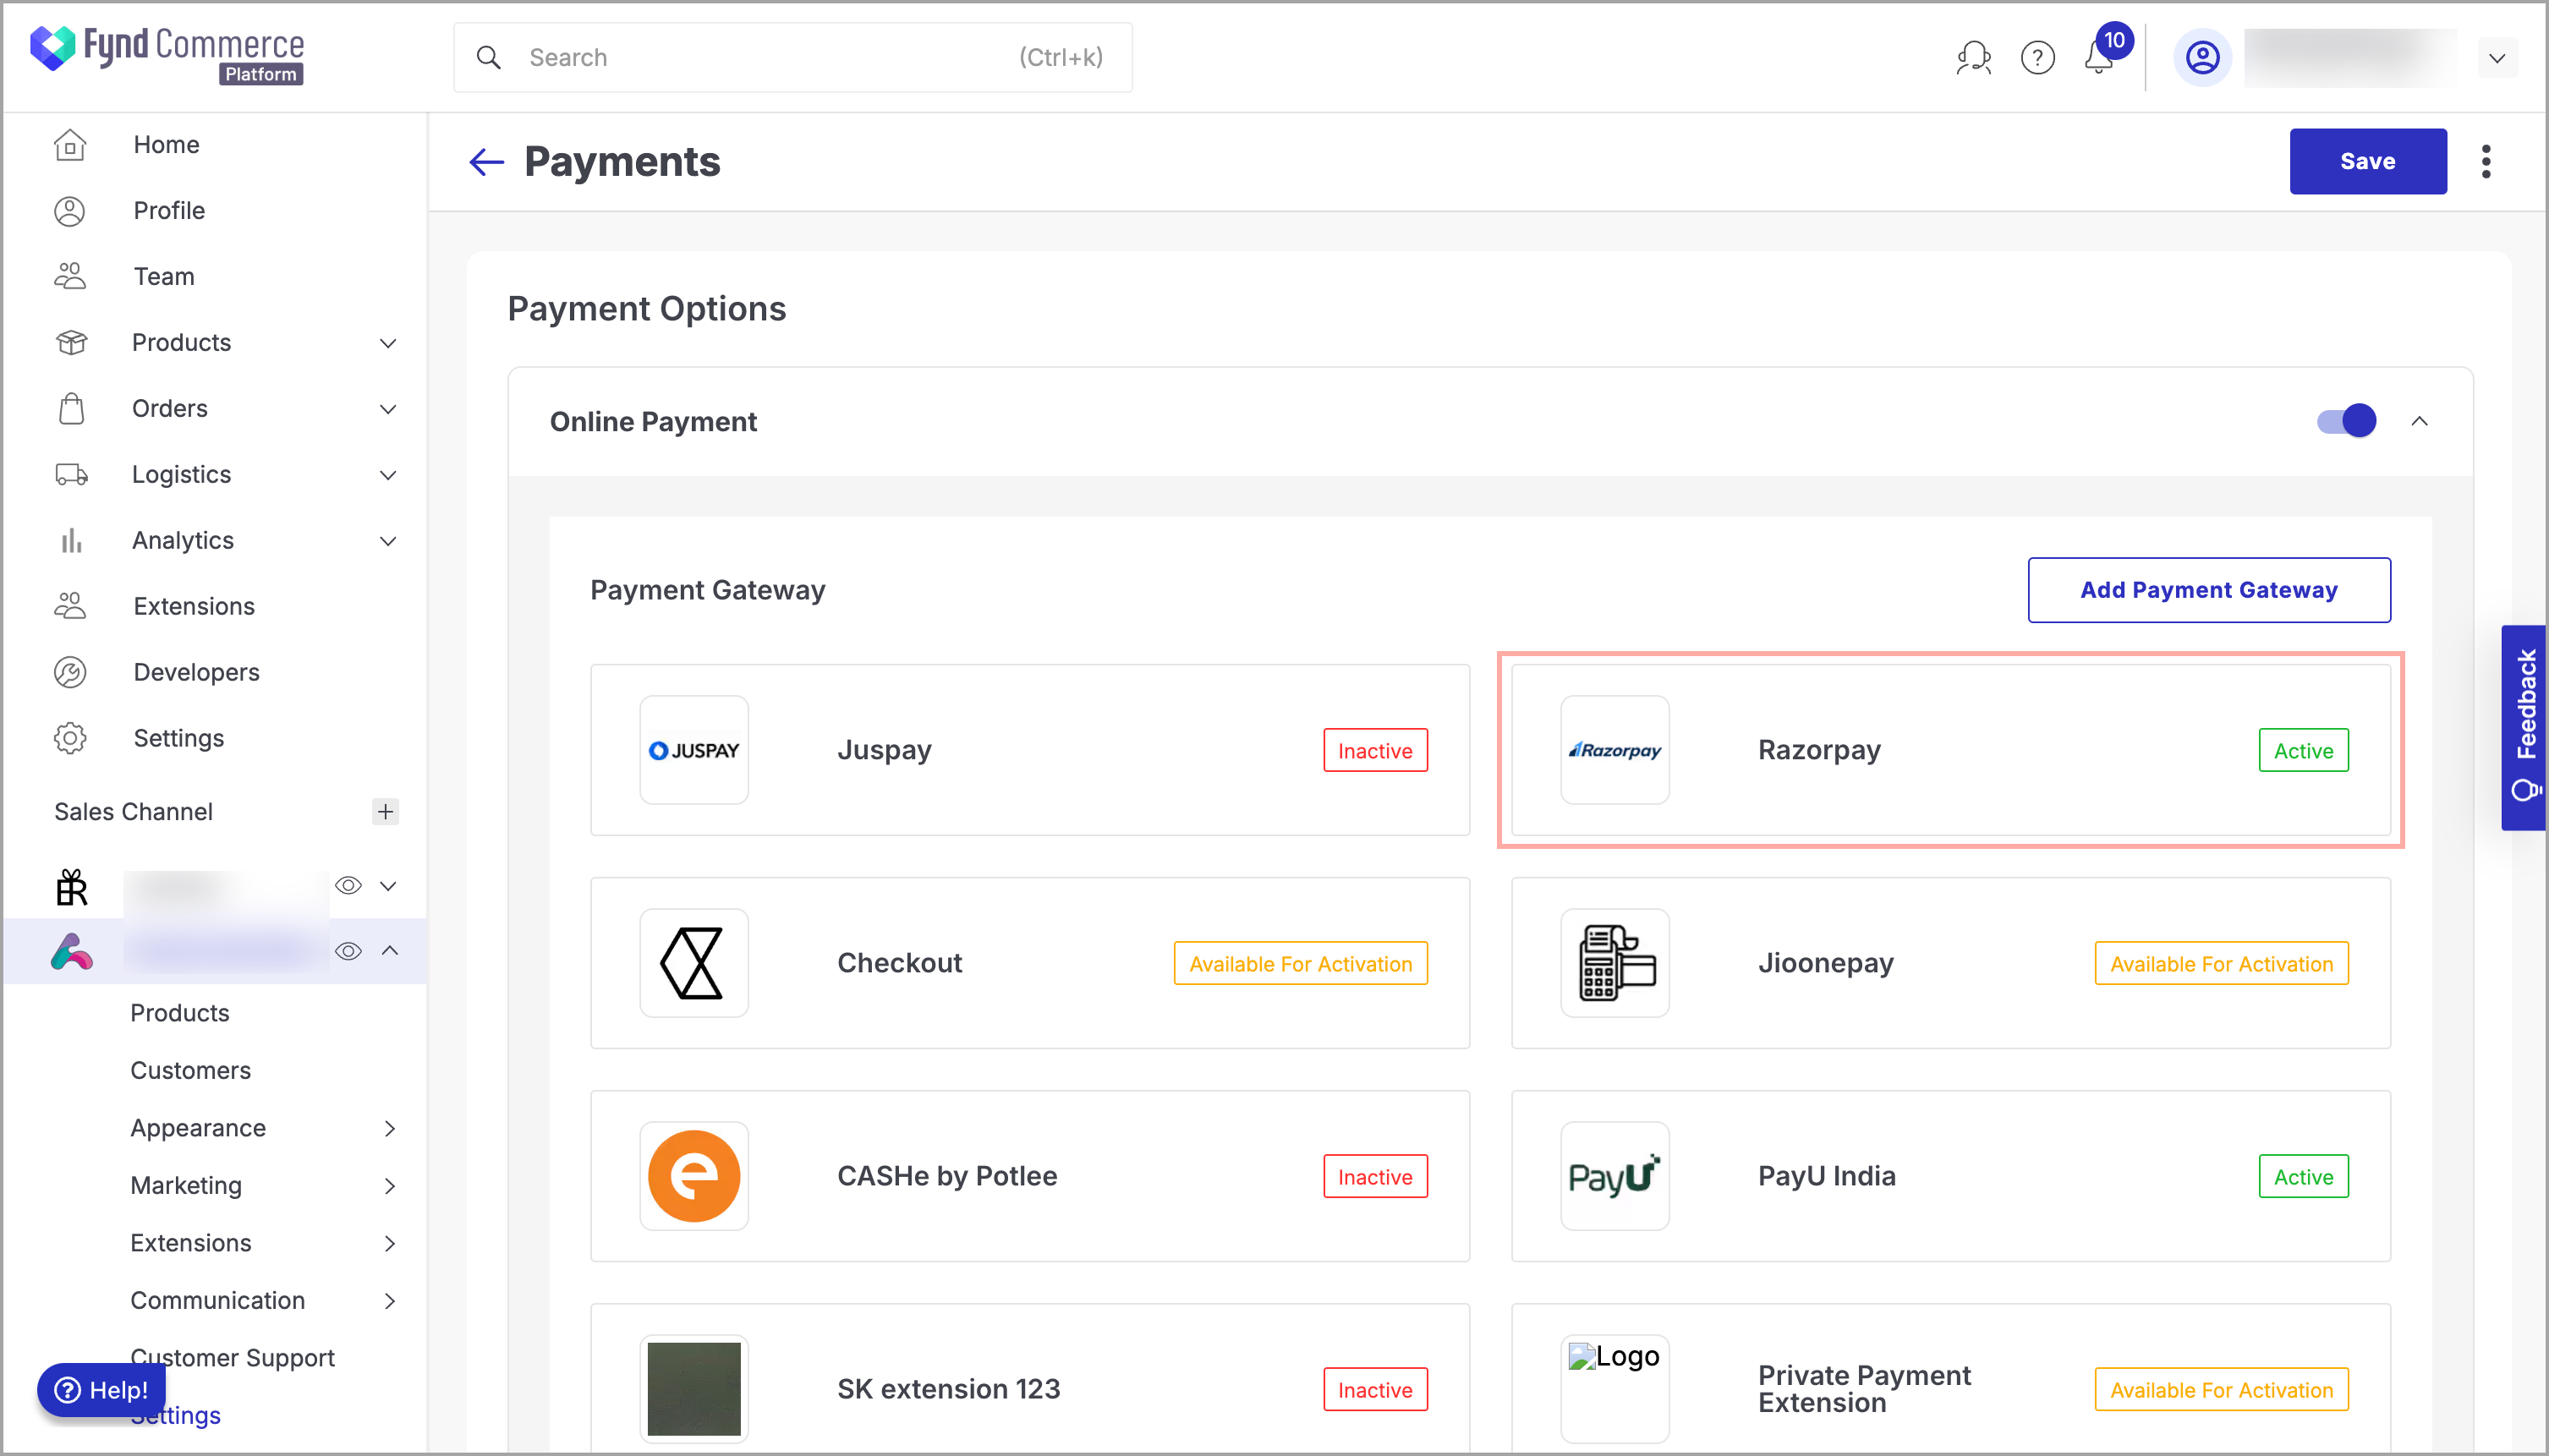
Figure 3: Clicking Razorpay - Click three dots (
⋮) on the upper-right side of the window.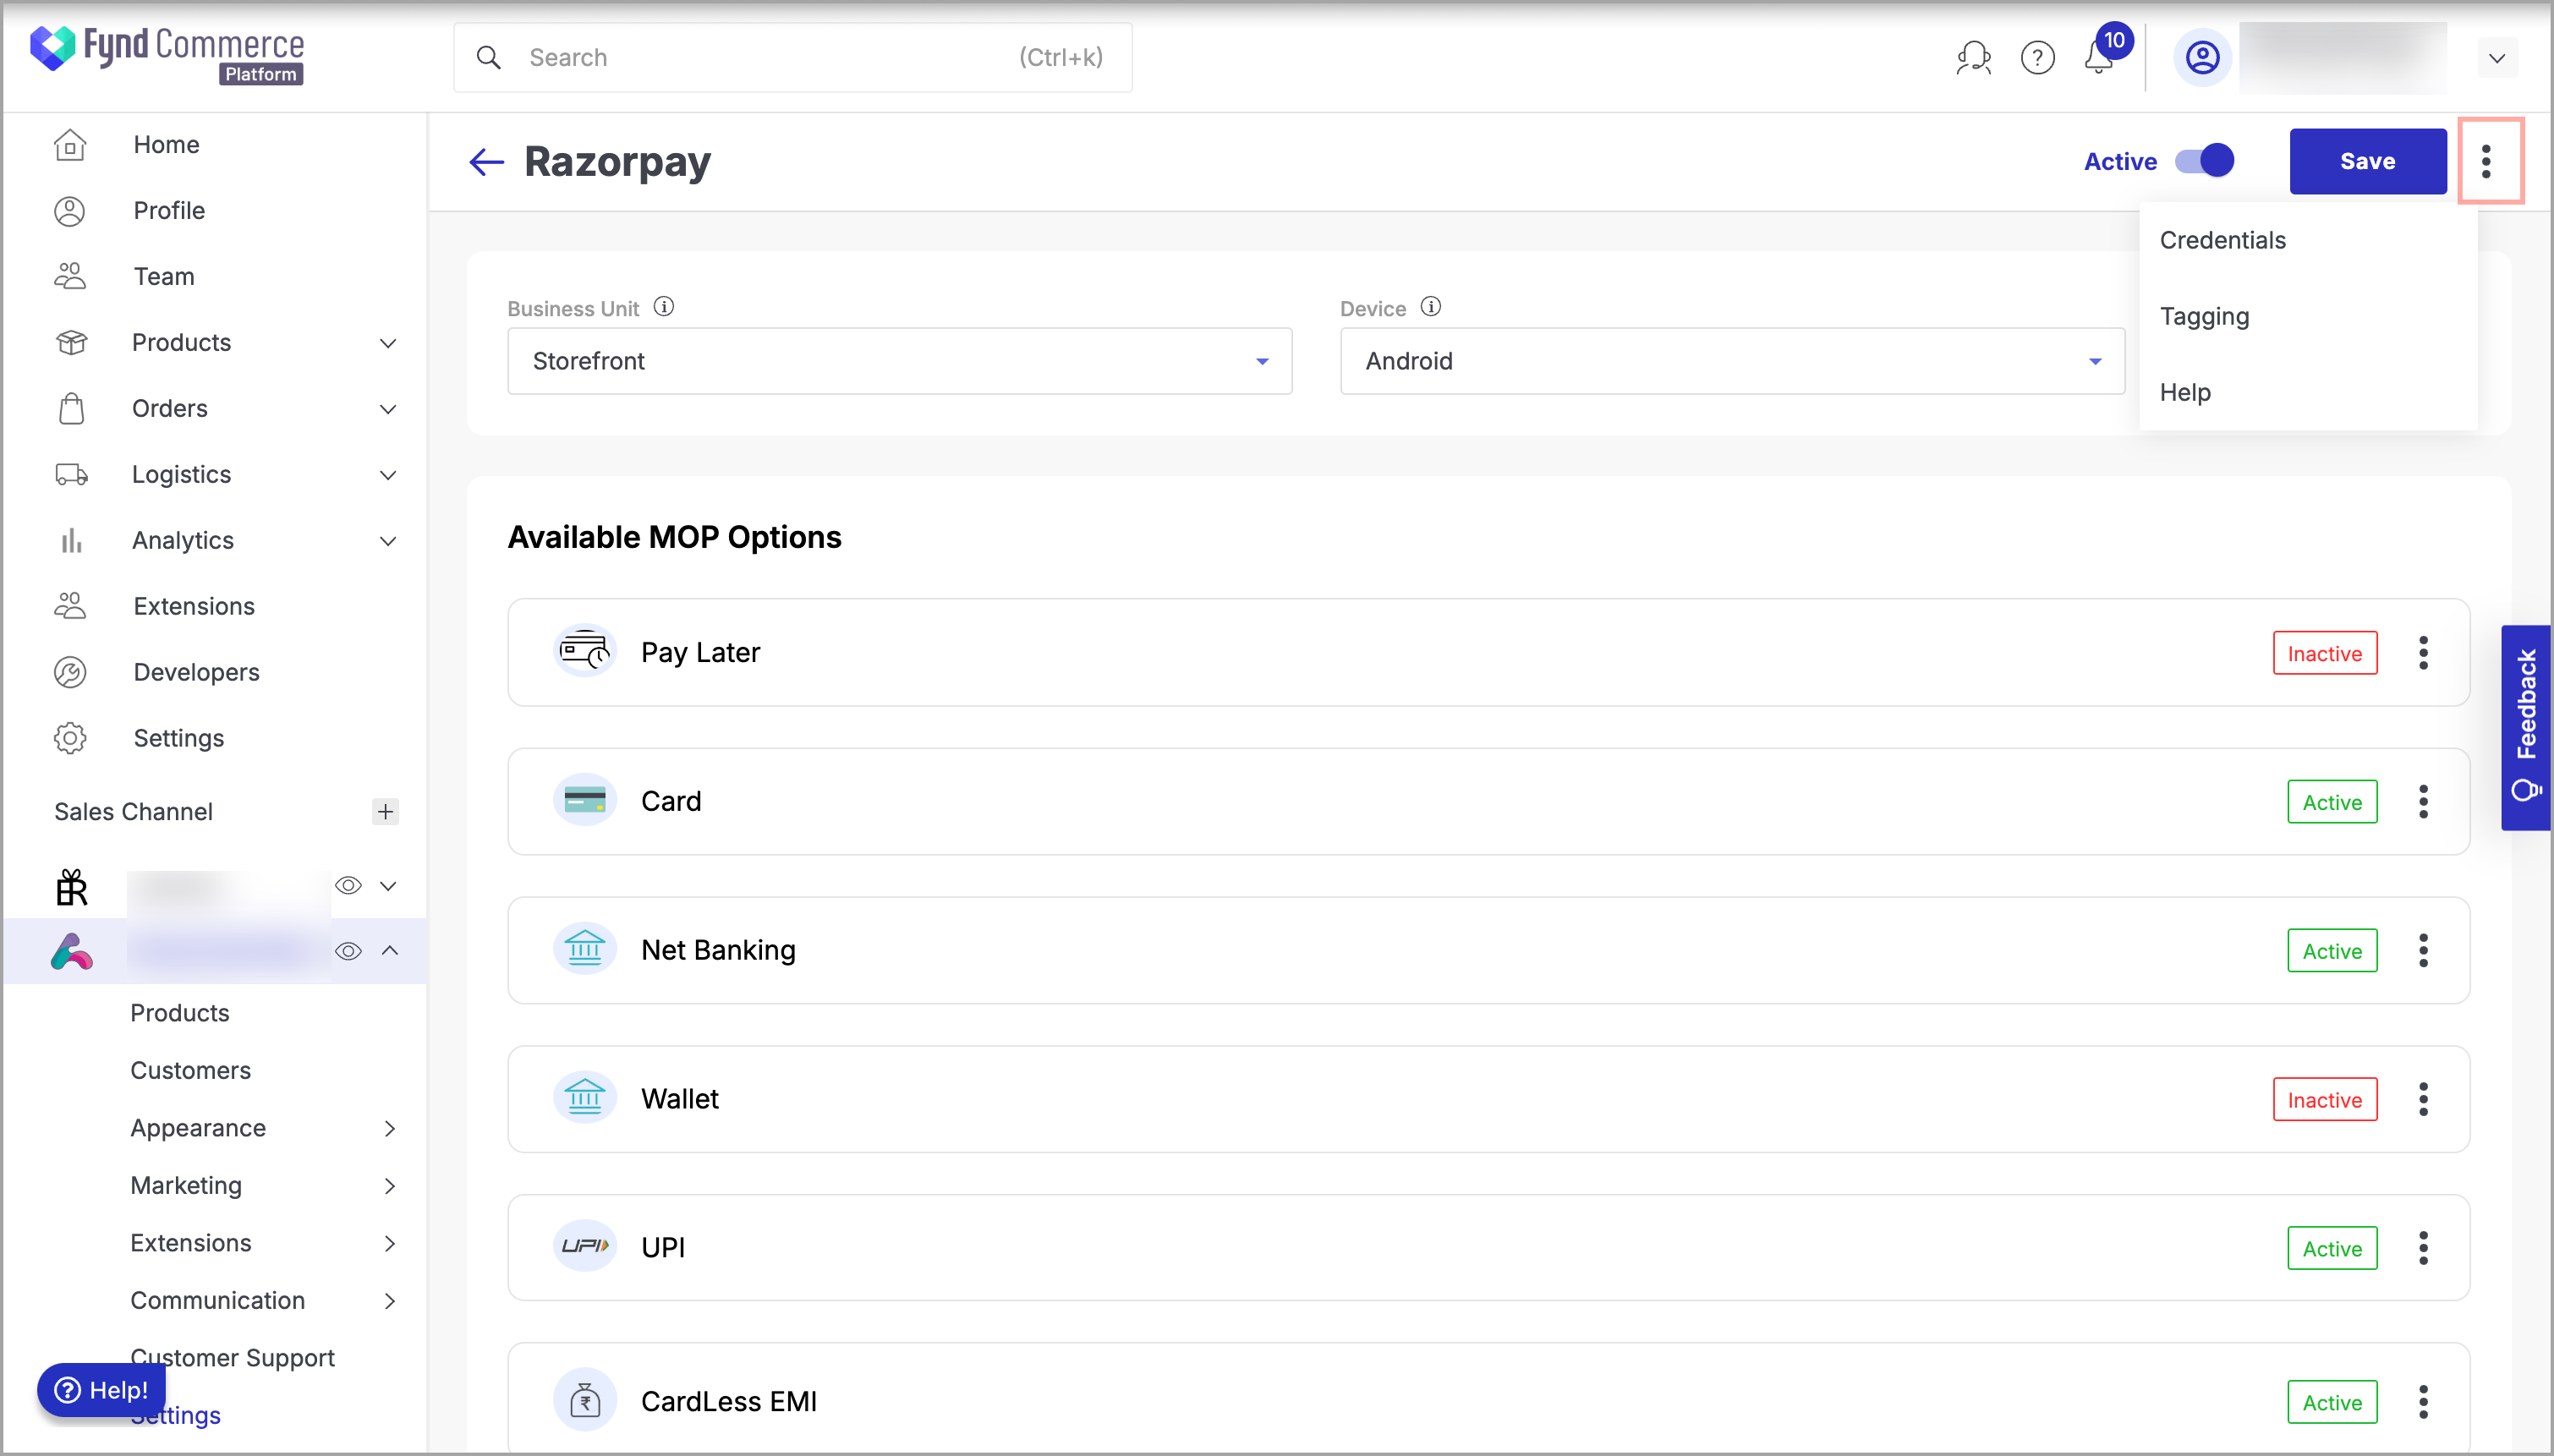
Figure 4: Clicking three dots (⋮) - Click Credentials.
- Click three dots (
⋮) on the upper-right side of the window. - Click Switch Account.

Figure 5: Clicking Switch Account - Select Assisted Merchant Account.
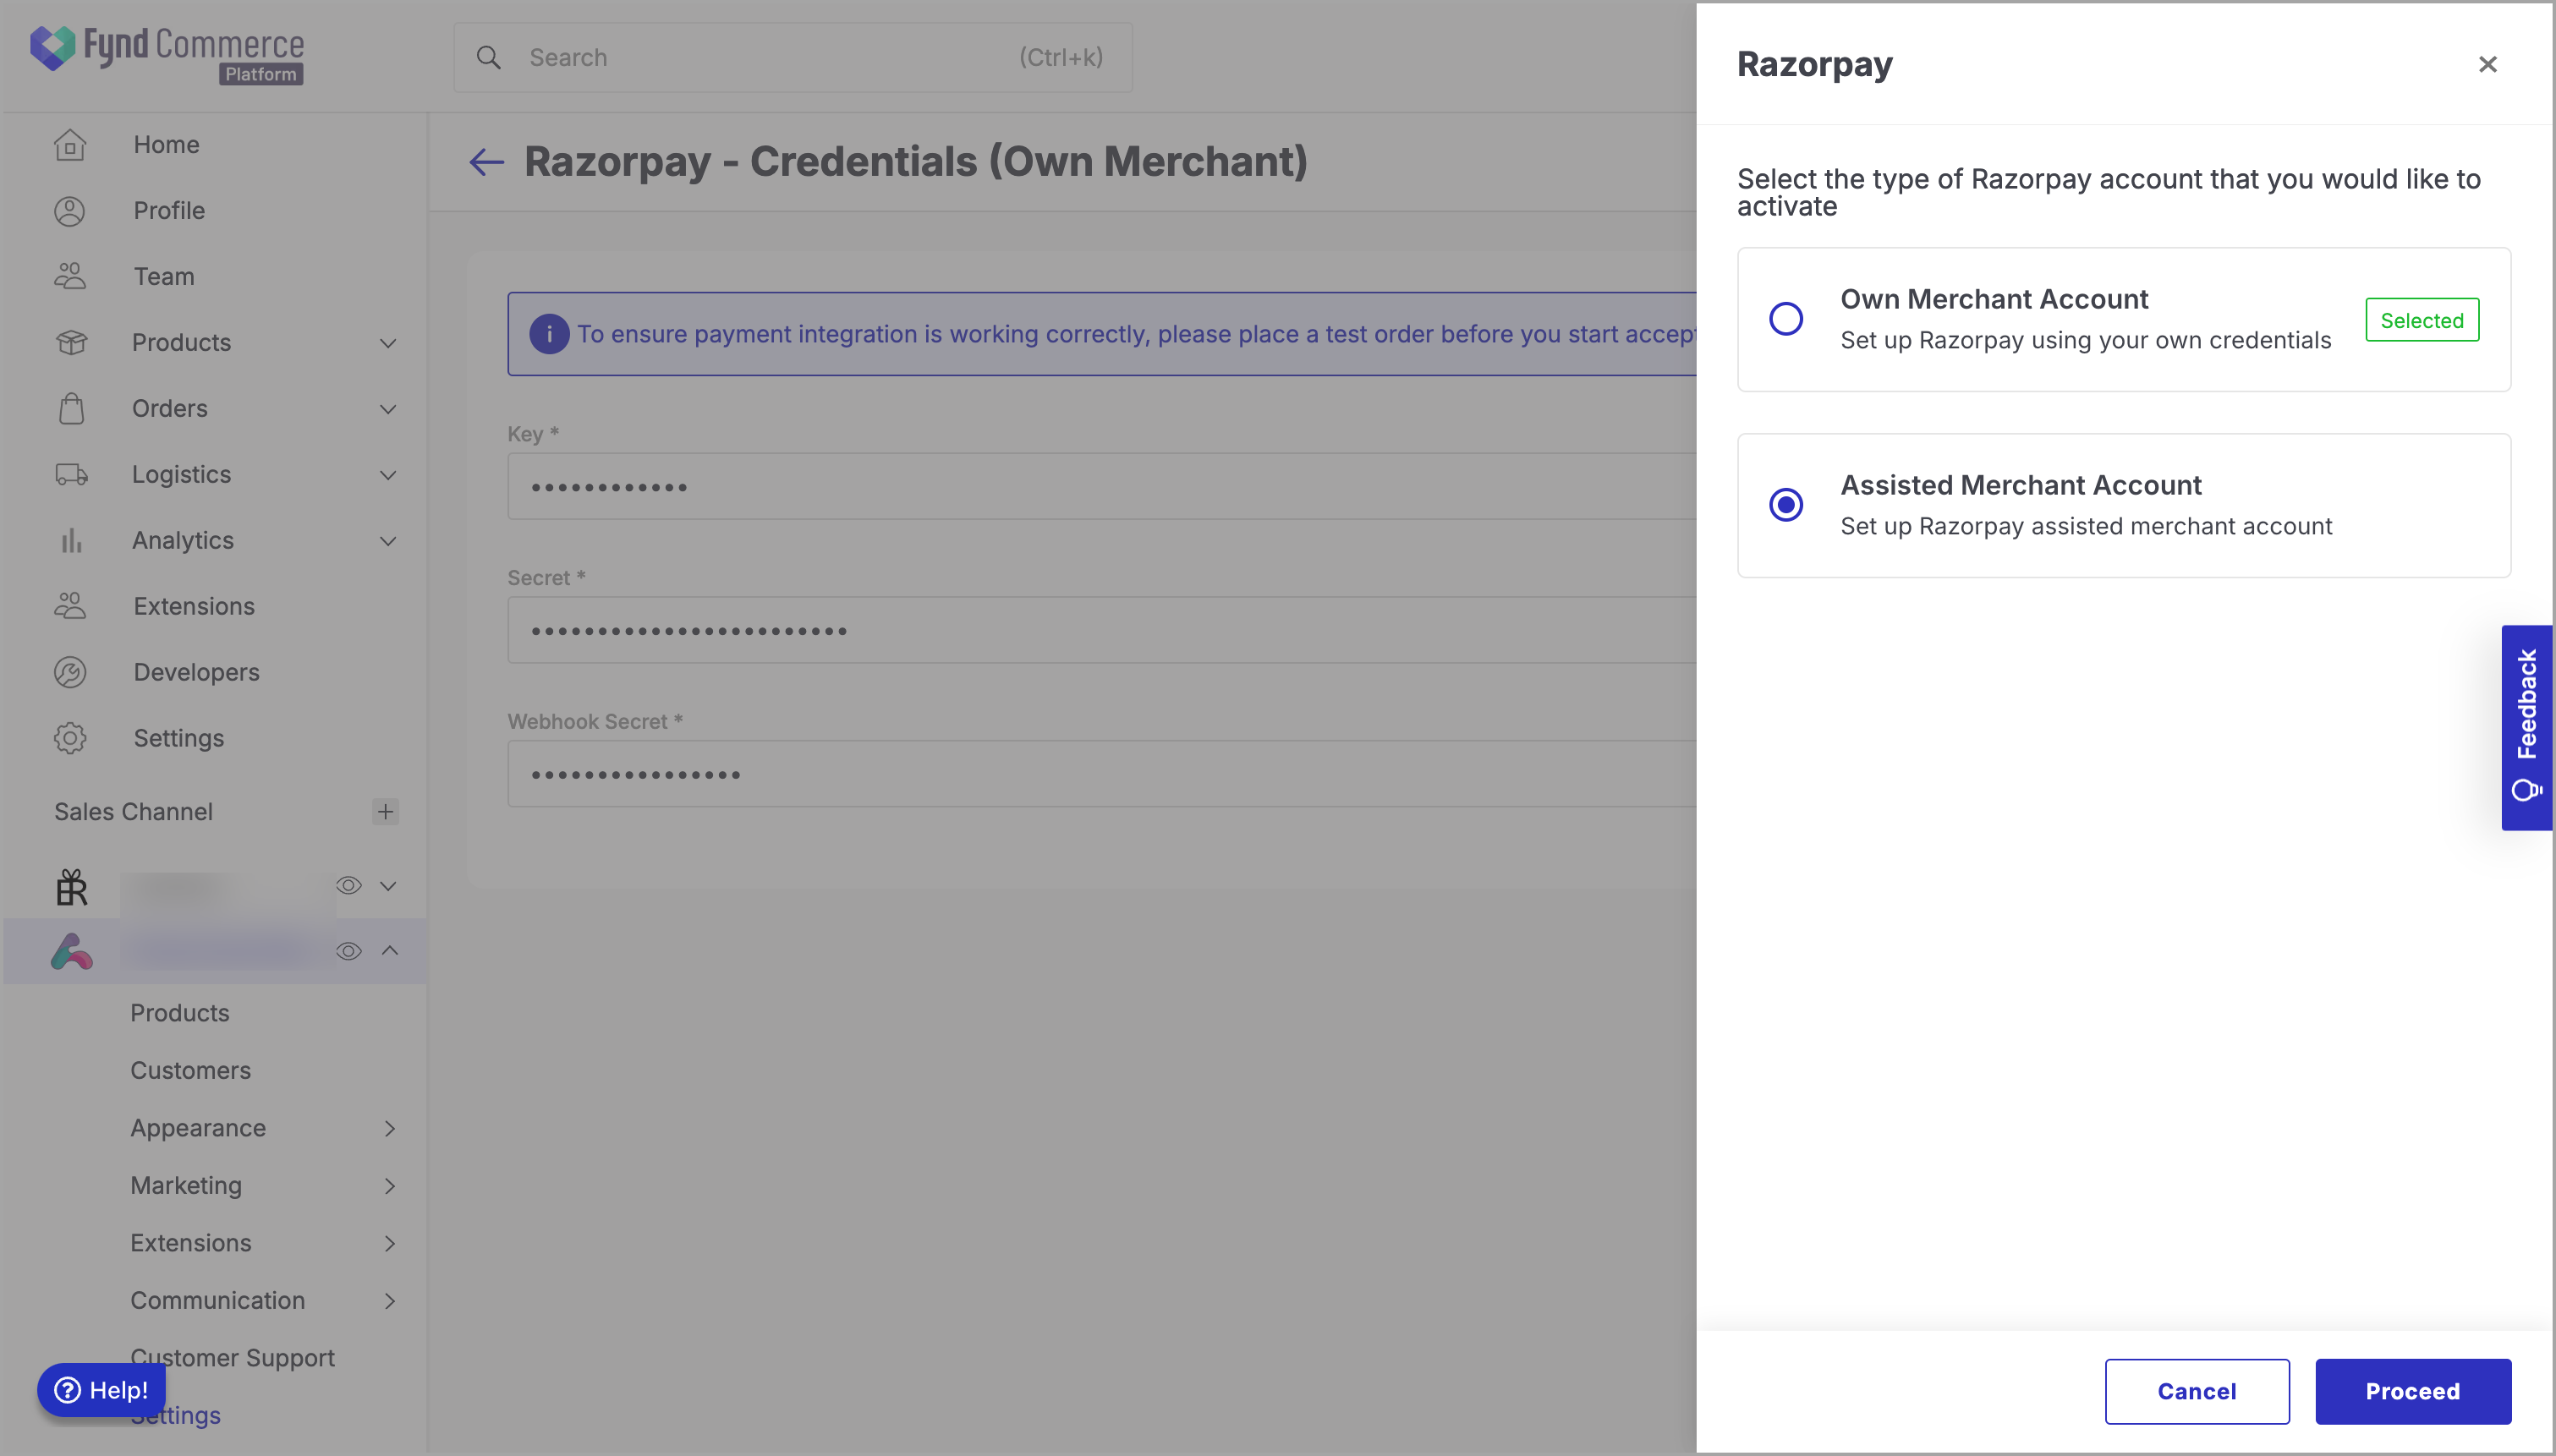
- Click Proceed. You will be directed to the Razorpay login dashboard.
- Click Login to navigate to the login page of the Razorpay account.
OR
If you do not have a Razorpay account, click Create Account to create a new account.
Refer to Create Account for more details.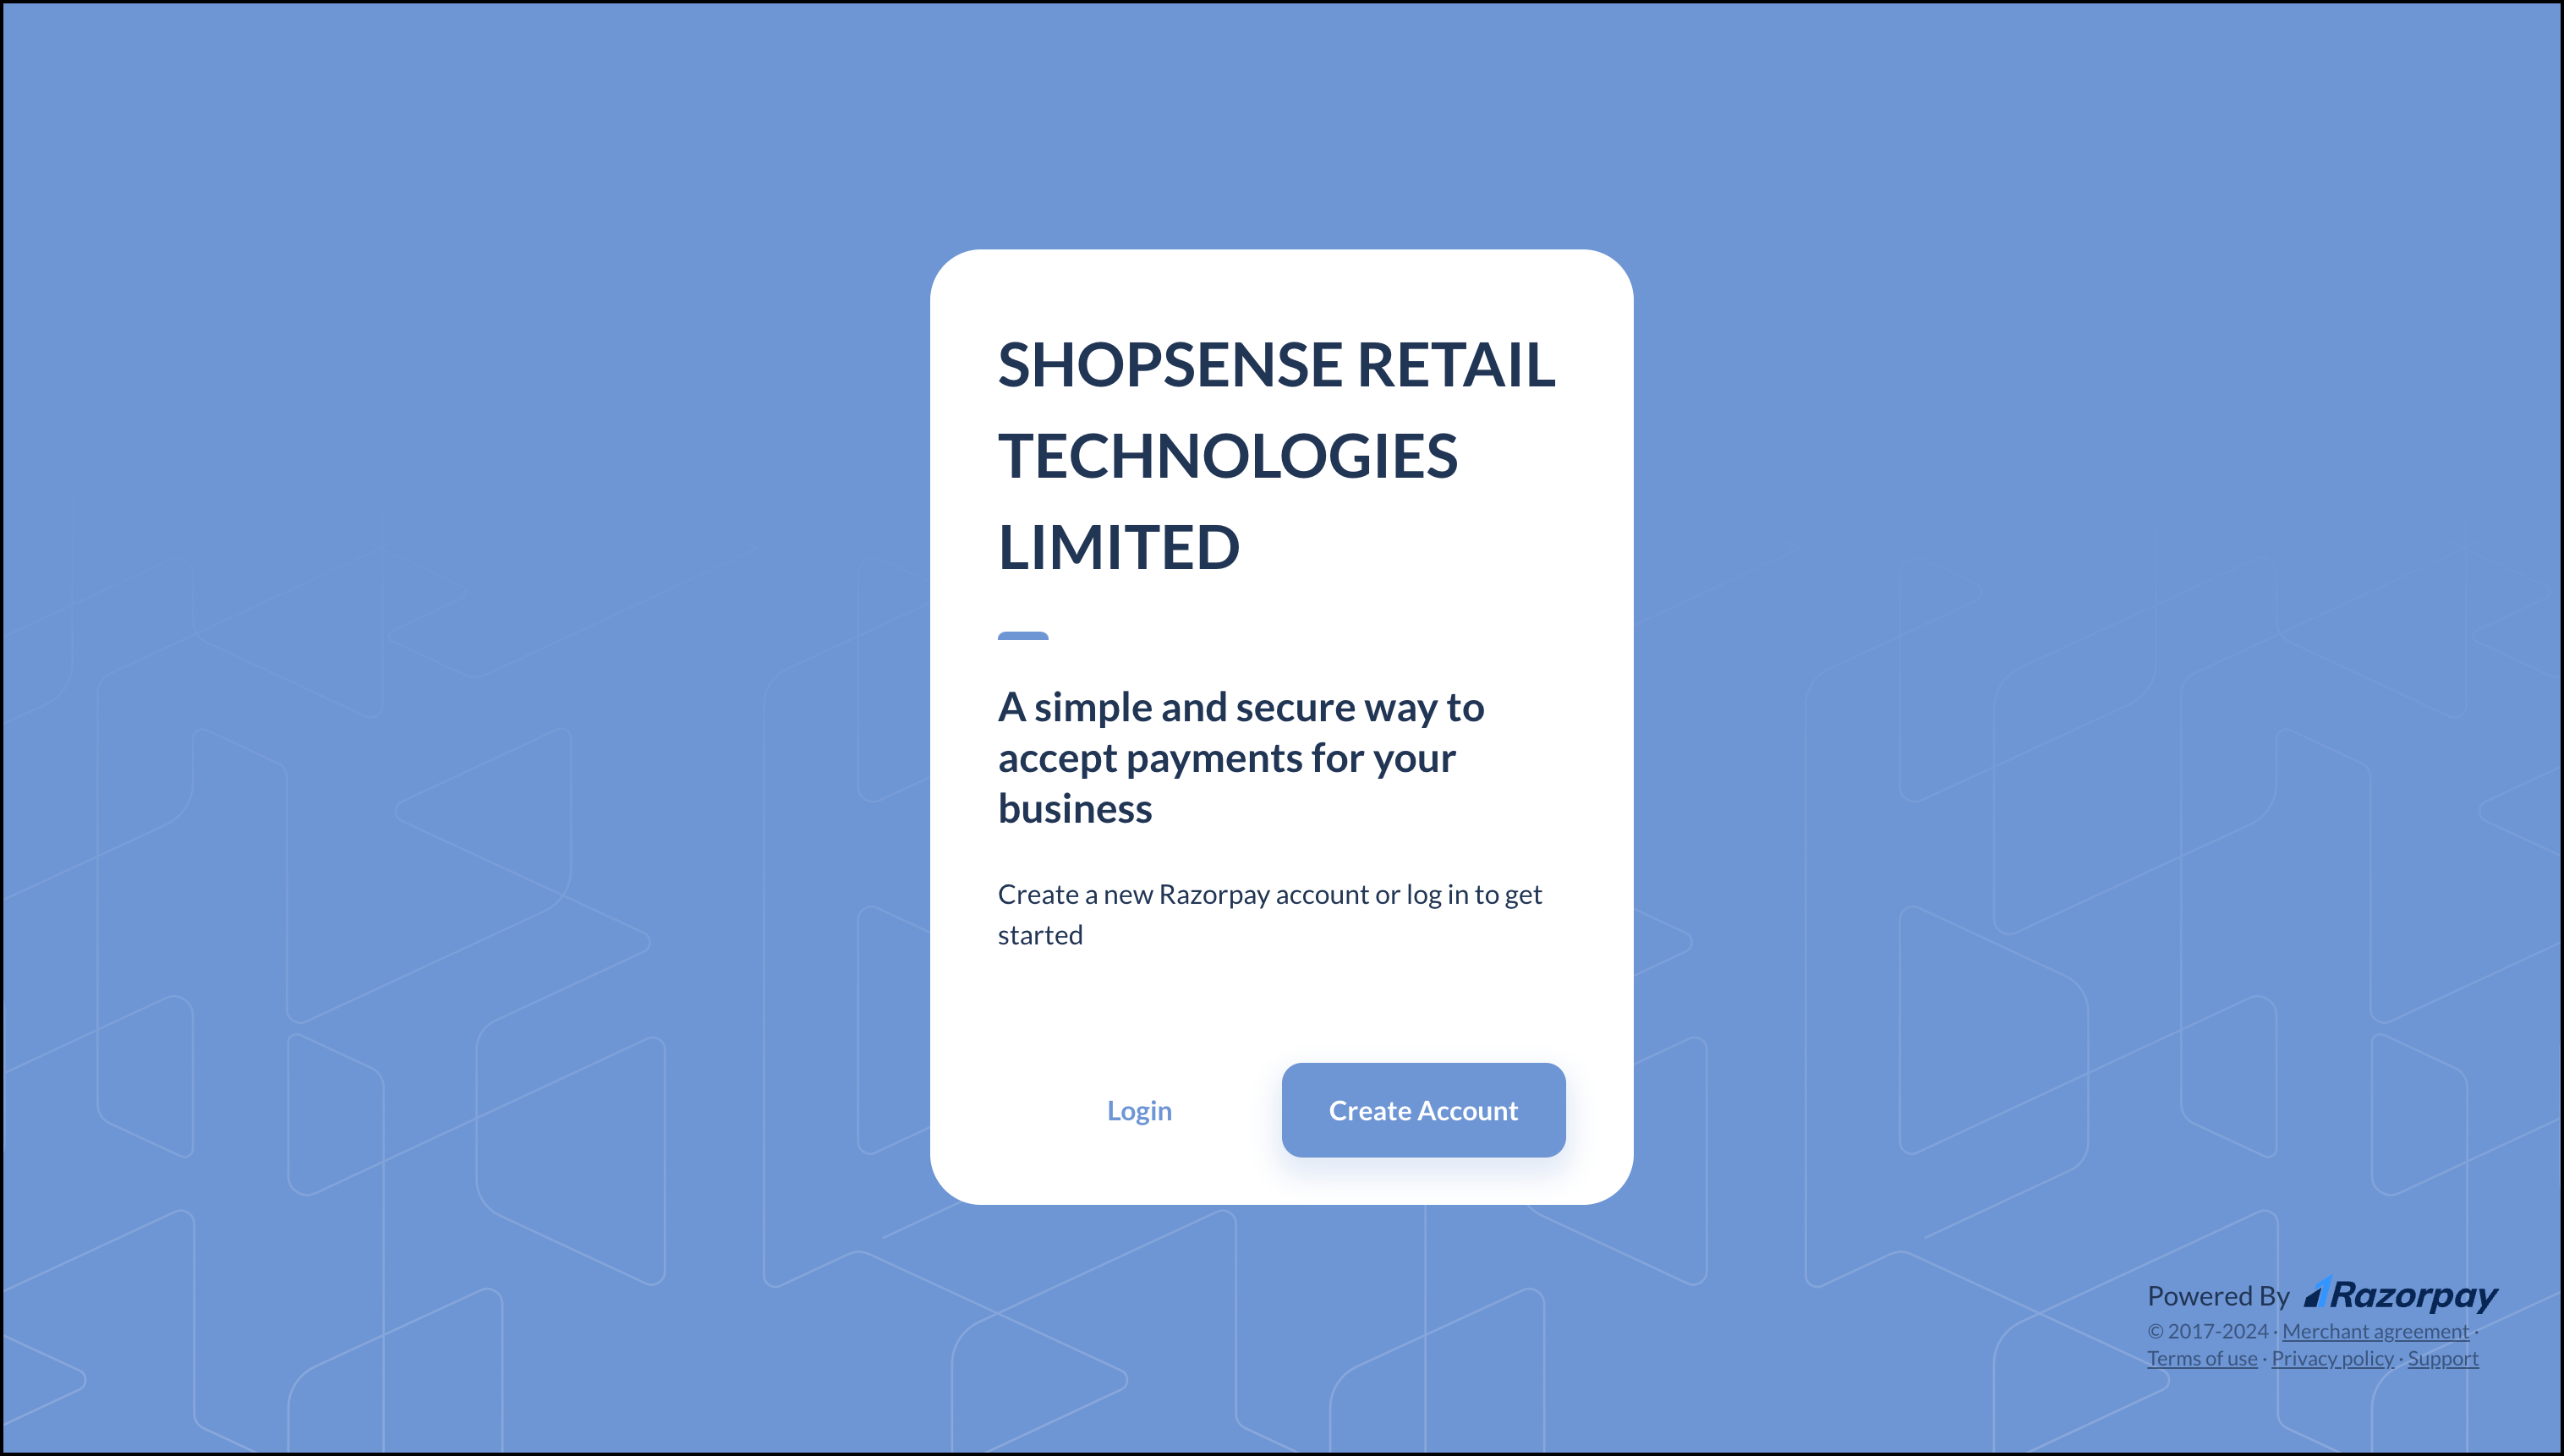
Figure 6: Razorpay Login Page - Enter credentials to login. Here, we have selected Login.
- Click Authorize. The Razorpay PG gets added successfully.
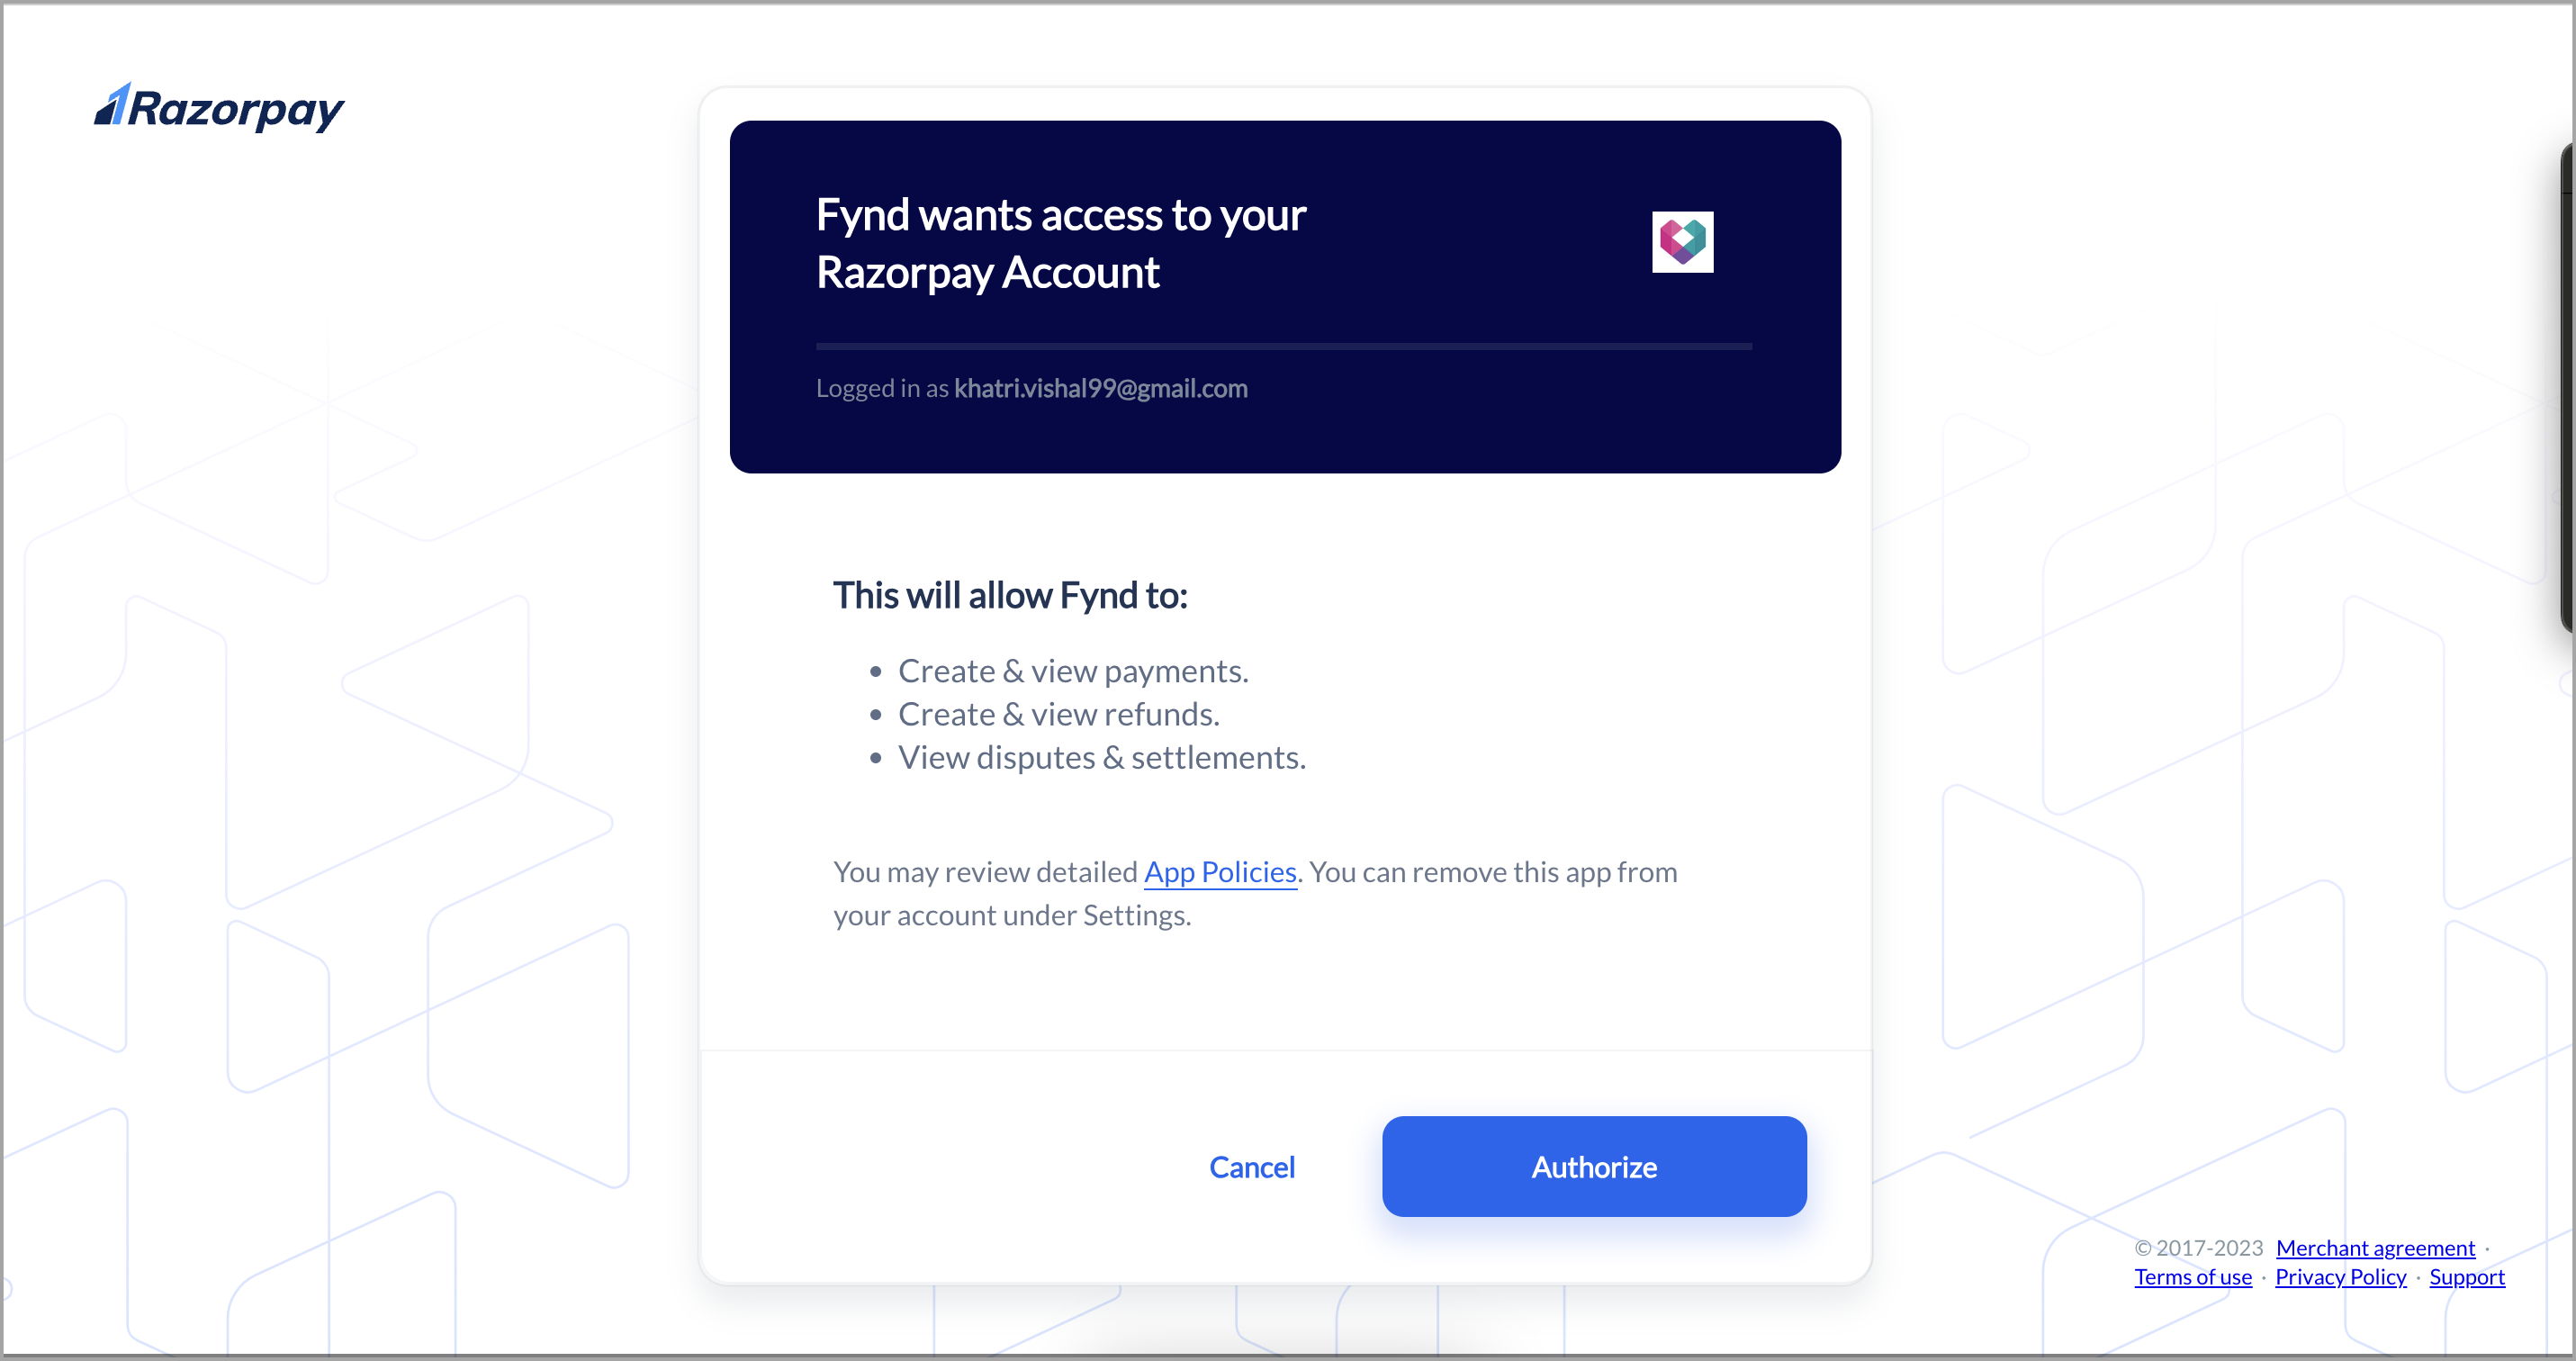
Figure 7: Authorizing to add Razorpay PG - Go back to your Razorpay Payment configuration.
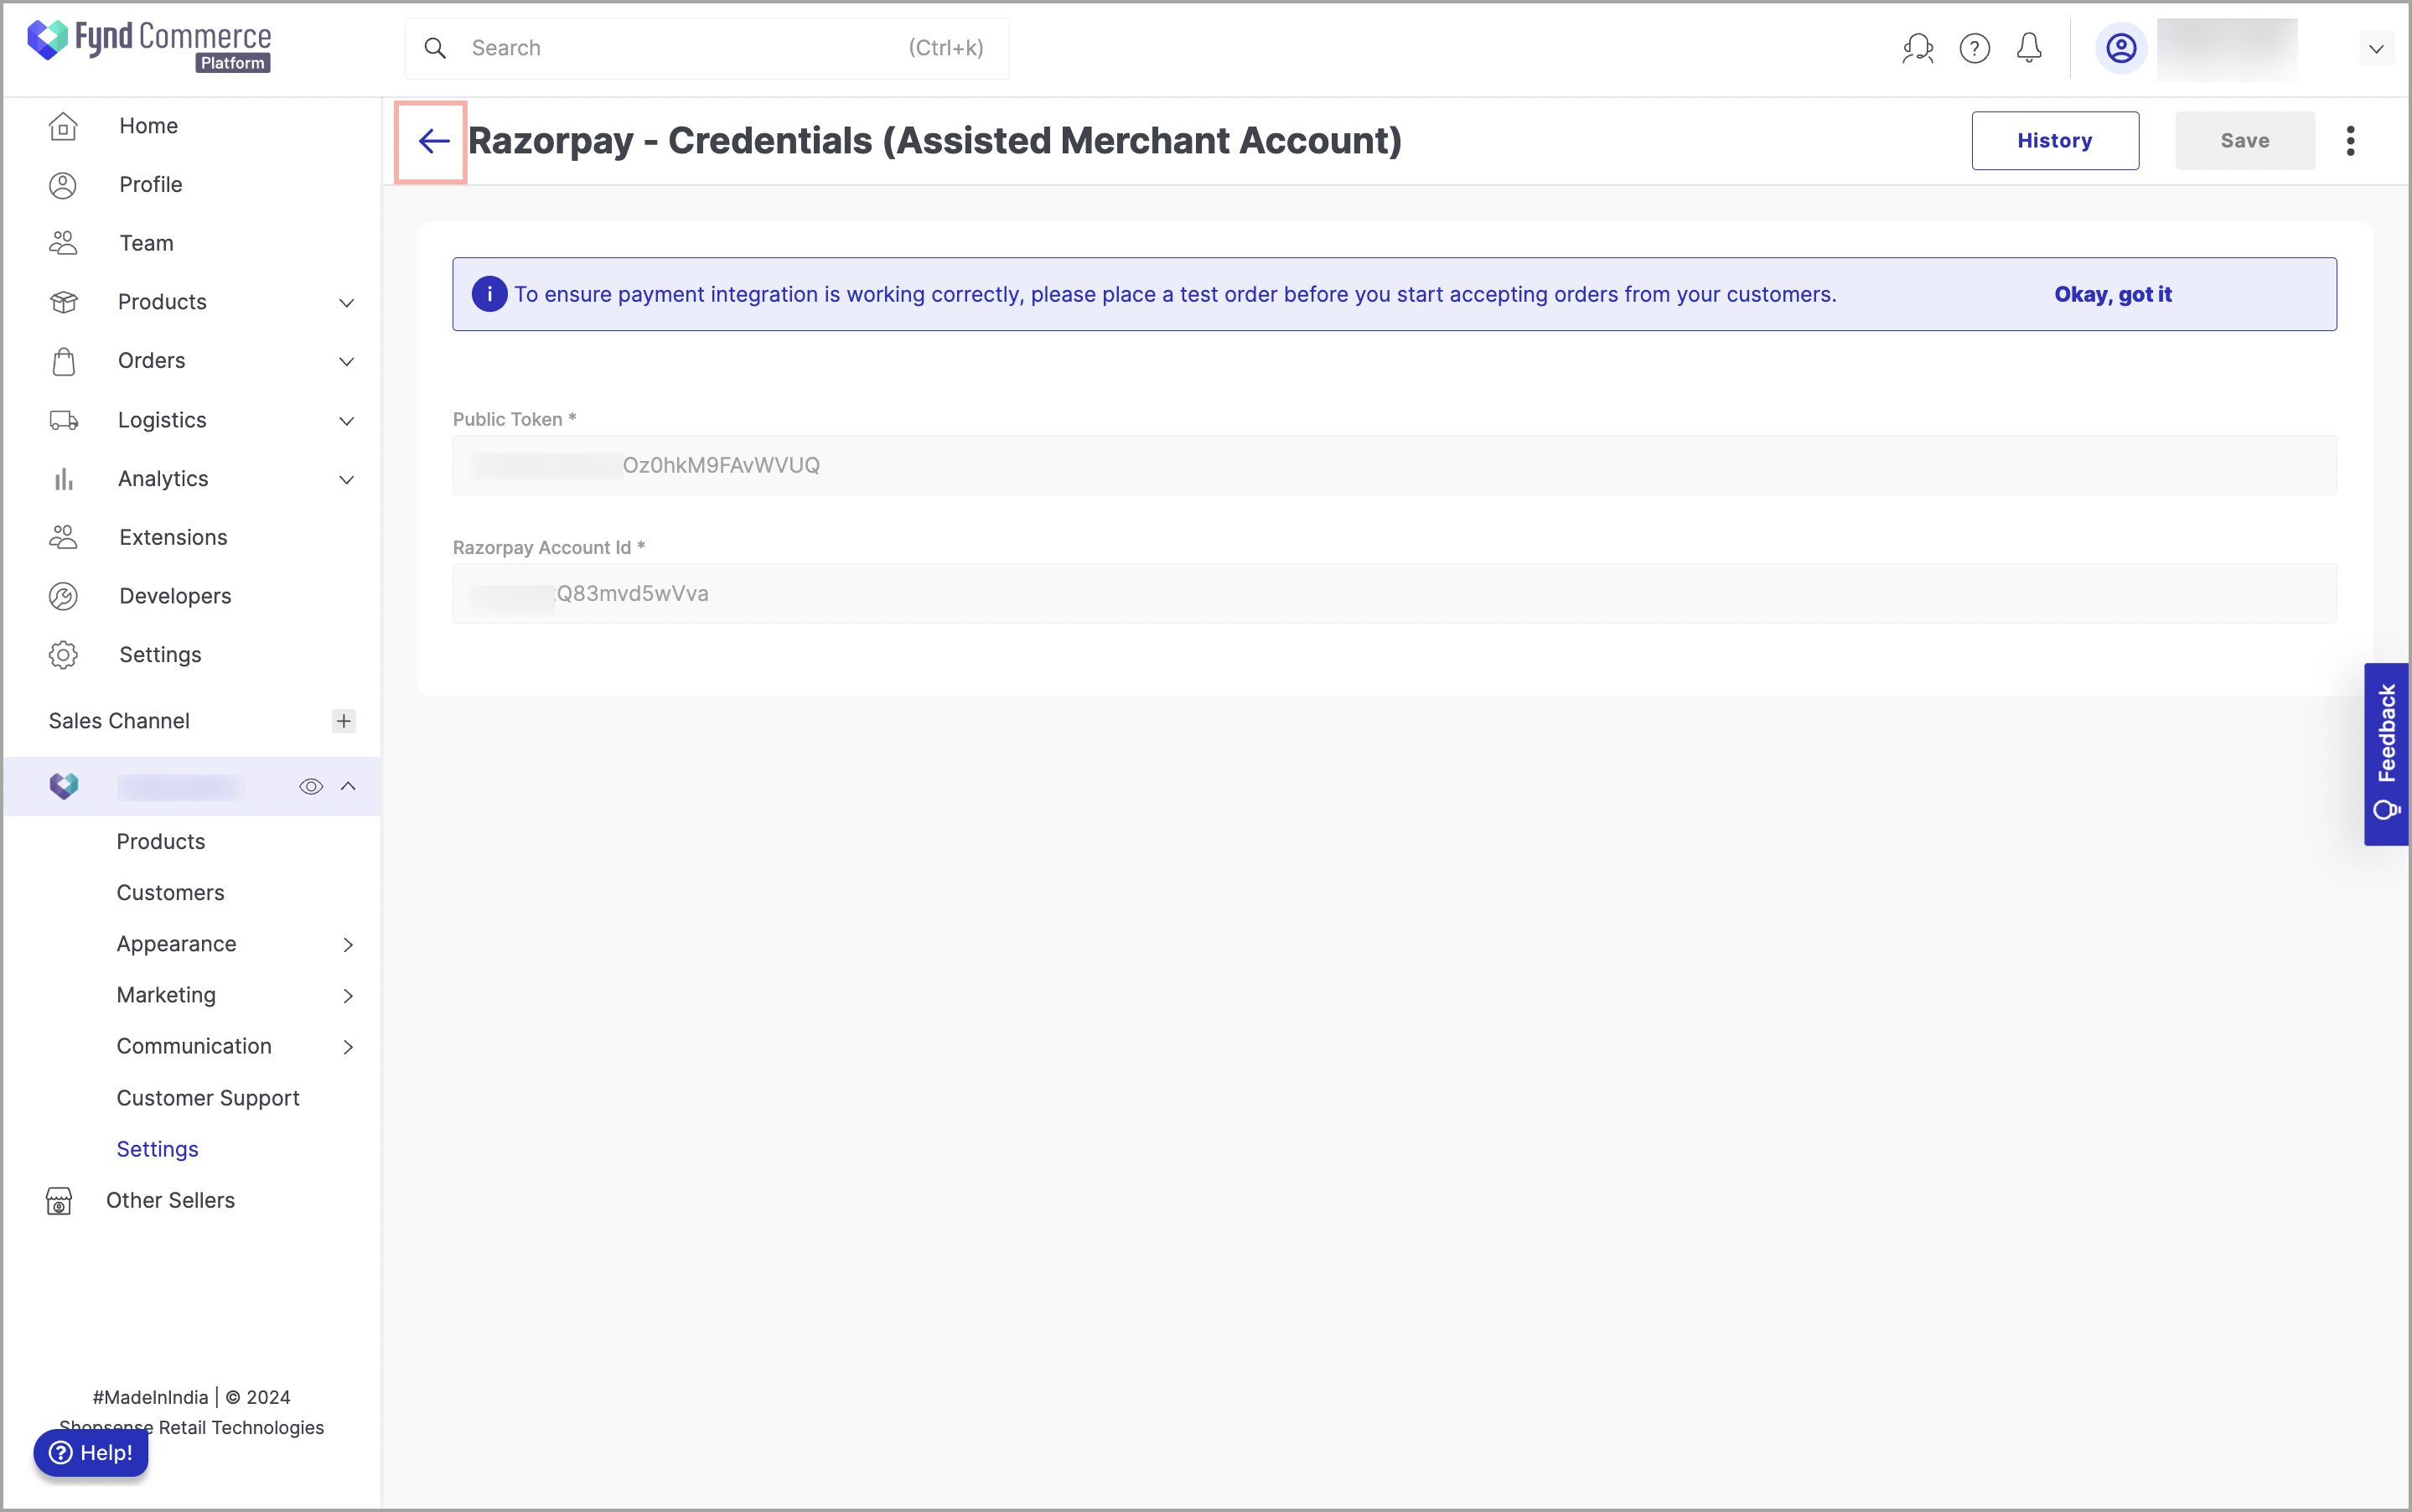
Figure 8: Navigating to the Razorpay Payment Configuration - Click Save.
- Provide your confirmation to save the changes.